As a Christian teacher and believer, it is important to me that young students learn the significance and true meaning of the Easter holiday. Teaching the Easter story to children when they are young lays the foundation for a deeper appreciation of faith and knowledge of the word of God.
I love including crafts in my lessons because they help children understand the story in a hands-on, engaging way. Art projects can help students grasp the profound message of Easter while having fun along the way. Creating a craft is a meaningful experience that allows young children to comprehend the events in the story and gain a better understanding of its meaning.
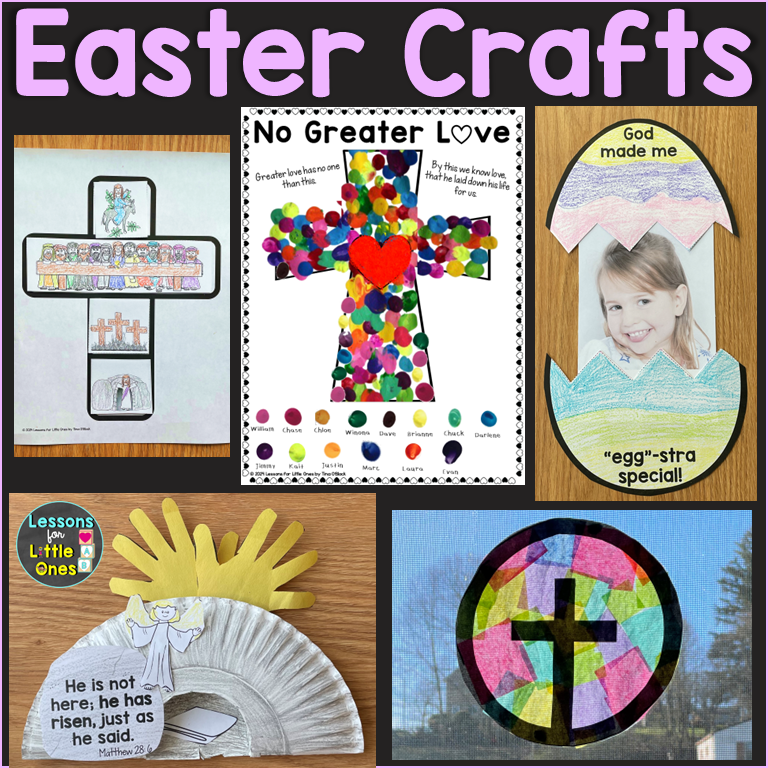
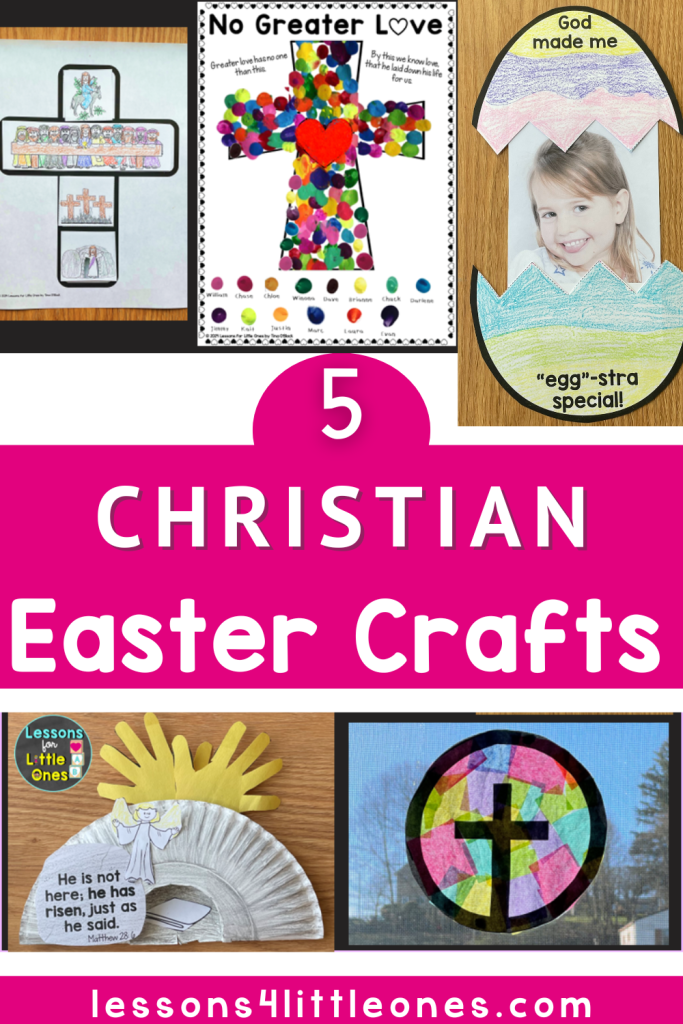
In this post, I’m sharing my 5 favorite Christian Easter crafts and art projects that help children learn the Easter story of Jesus’ crucifixion and resurrection. They combine creative fun with faith and are perfect for classrooms, Sunday schools, Christian schools, Catholic schools, or home activities.
Contents
Easter Cross Fingerprint Art Project
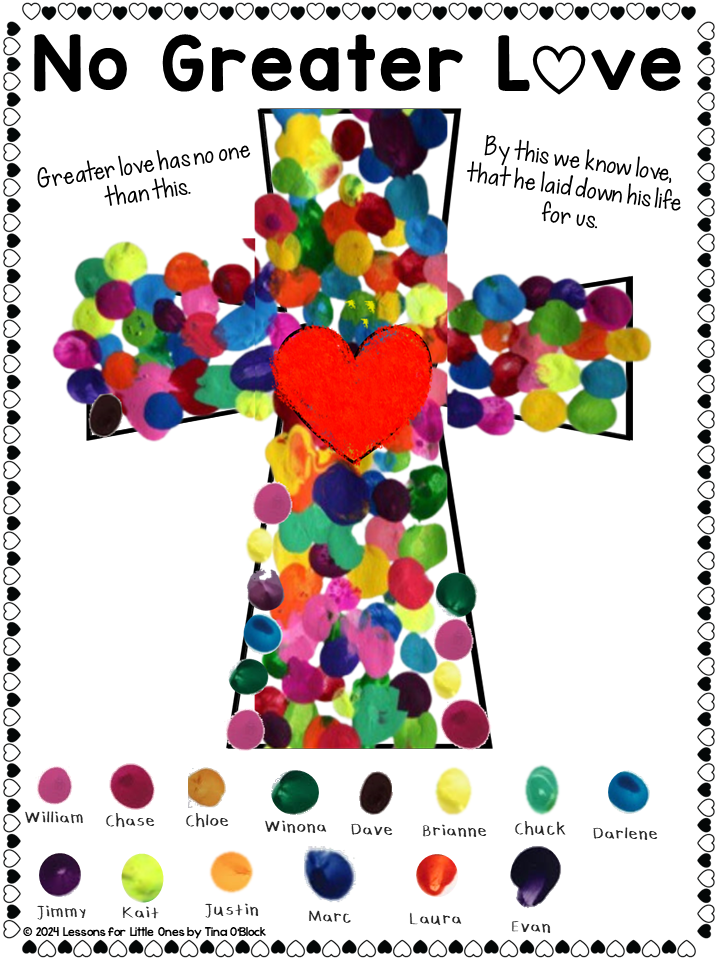
This is a meaningful craft that serves as a reminder that Jesus died for each one of us. The cross is made with the fingerprints of the entire class – each student makes their own individual mark on the cross.
I have done 2 different versions of this art project over the years. I will share pictures of both in this post. The basic difference between the two is the colors of paint used. The second version uses specific colors of paint that coordinate with The Colors of Easter poem.
Create a beautiful fingerprint art cross by having each student use a different color of paint for their fingerprints.
Each child dips their finger in paint. Then, they put several fingerprints in the cross (spread out). Encourage students to remember that Jesus paid the ultimate sacrifice for each of them.
The number of fingerprints that each student needs to make in the cross will vary depending on the number of students in your class. Each student may need to place anywhere from 5-10 fingerprints in the cross in order to fill it.
Version 1: No Greater Love
For this version, you can use your choice of paint colors. In addition to students putting fingerprints on the cross, they also put a fingerprint along the bottom and write their name underneath it. The heart in the center can be painted or colored.
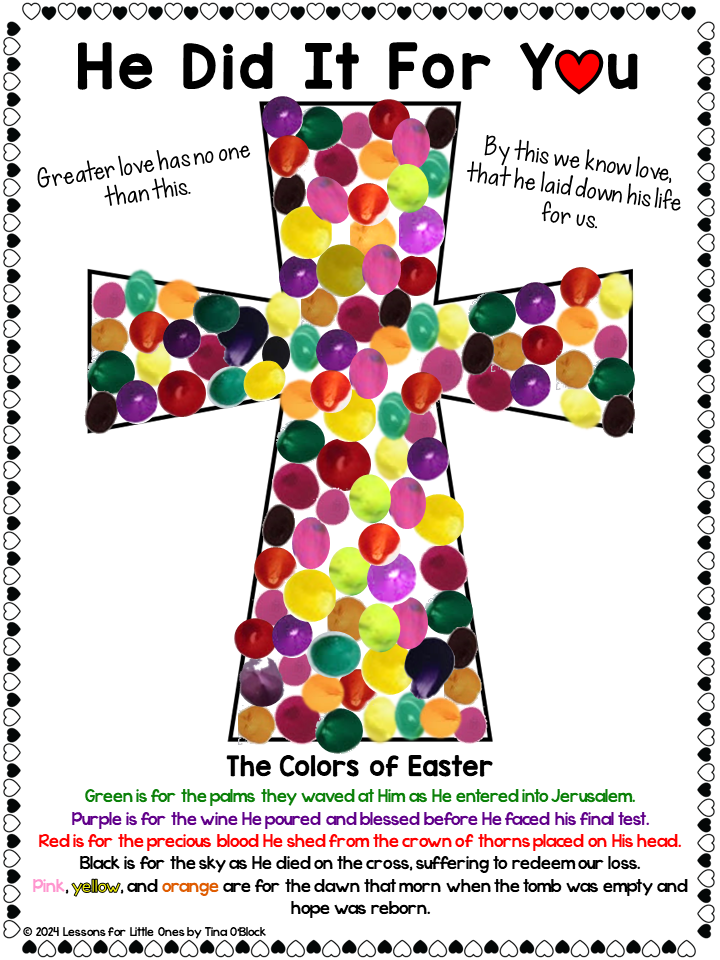
Version 2: He Did It For You (The Colors of Easter Poem)
For this version, I used only the colors from The Colors of Easter Poem (that I had taught the students) for the paint (green, purple, red, black, pink, yellow, and orange). I made various shades of the colors for more variety.
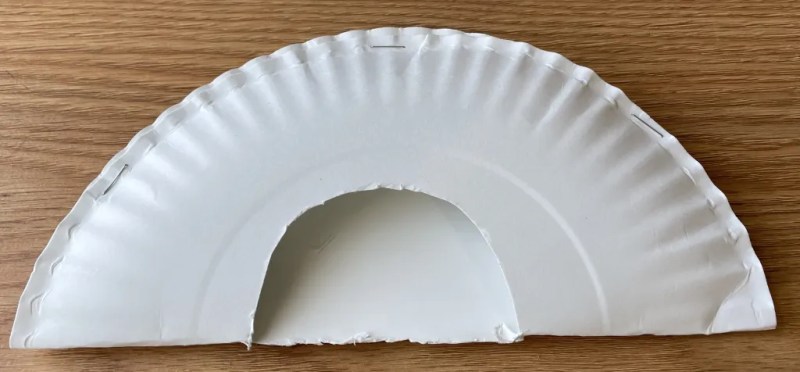
Empty Tomb Paper Plate Craft
Through constructing their own tomb, children visually grasp the significance of the empty tomb and what happened Easter morning.
Prepare a tomb for each student by folding a paper plate in half, stapling the ends together, and cutting an opening (approximately 3 inches wide) along the bottom of the top half of the paper plate (see picture below).
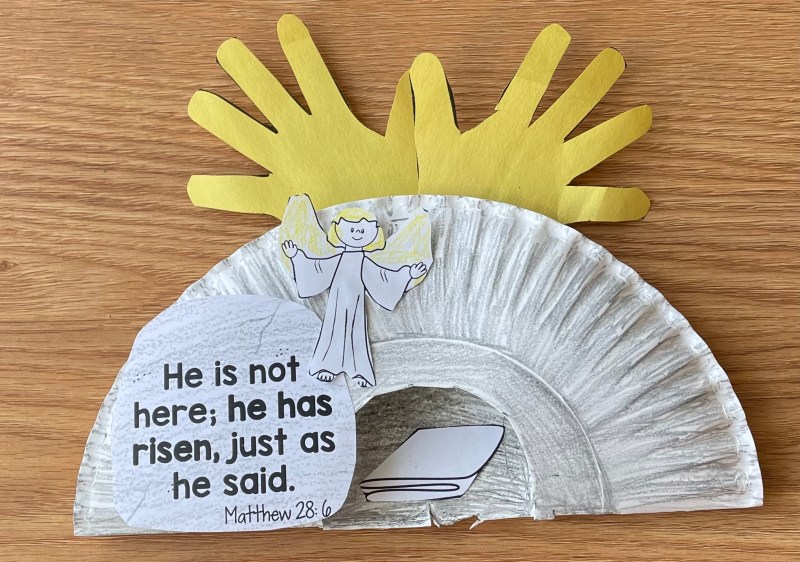
Have students paint or color their tombs, and then glue on a stone, angel, and linen cloth.
Next, give each student a piece of yellow or orange construction paper. Have them trace their hands and cut them out. Then, have them glue them to the back of the tomb to represent the sunrise (dawn) that morning.
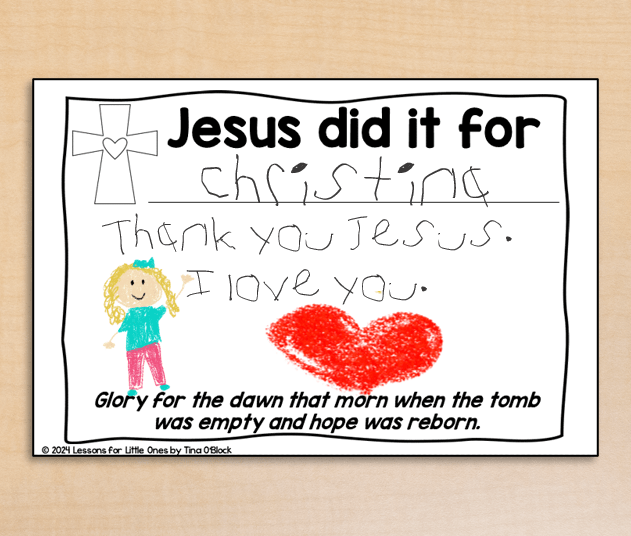
Optional writing page: With my older students, I sometimes add a writing page to this project. Students write their names on the line and then draw or write a thank you note to Jesus in the space underneath.
“Egg-stra” Special Egg Craft
This adorable craft reminds students that God made each of us with unique & special talents, gifts and in his own image. We are loved and very special to God which is why he sent Jesus to die for us.
Students decorate an egg pattern and cut it apart across the center. Then, they glue a half on the top and the bottom of a strip of construction paper with their photo in the middle.

Easter Story Sequencing Activity
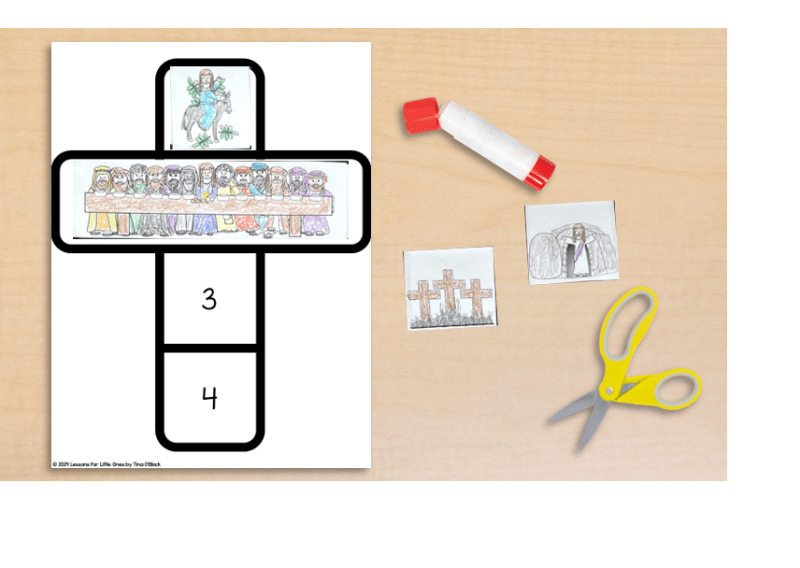
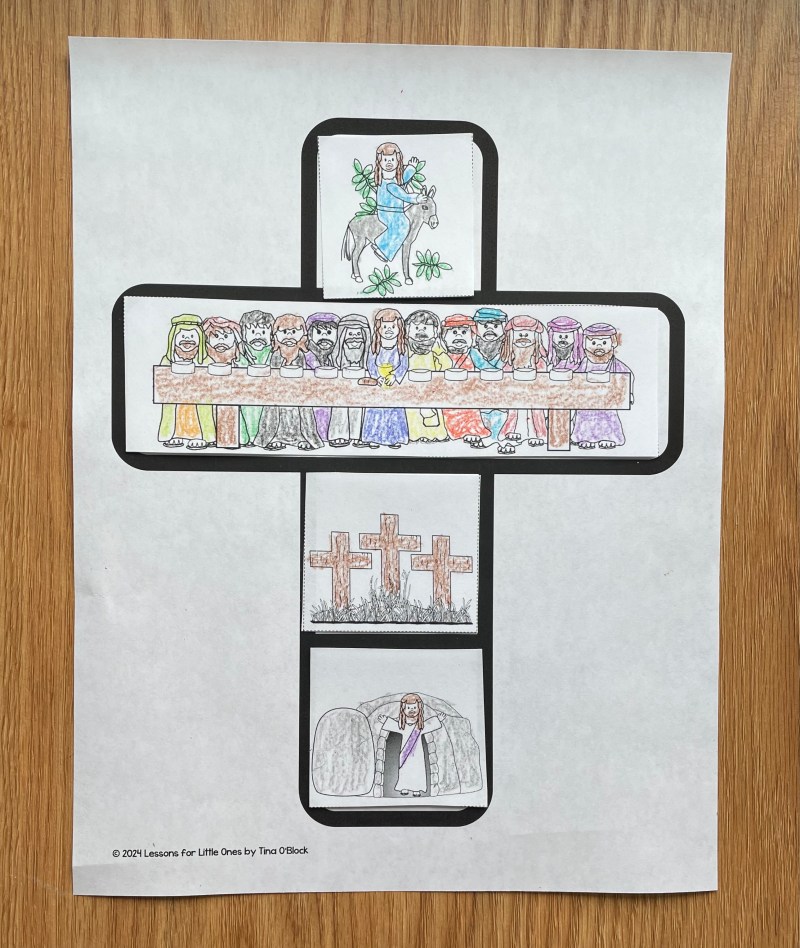
I wanted to make this sequencing activity more meaningful, so I decided to have students sequence the events from the Easter story onto a cross. By sequencing the events onto a cross, children learn and retell the key elements of the Easter narrative, from Jesus’ triumphal entry to his glorious resurrection.
Students color and cut out the story pictures. Then, they place them in order on the cross beginning at the top and going down.
Stained Glass Window Cross Craft
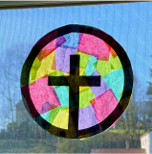
Illuminate the Easter message with colorful cross sun catchers! These vibrant window decorations not only look beautiful but also serve as daily reminders of Christ’s sacrifice.
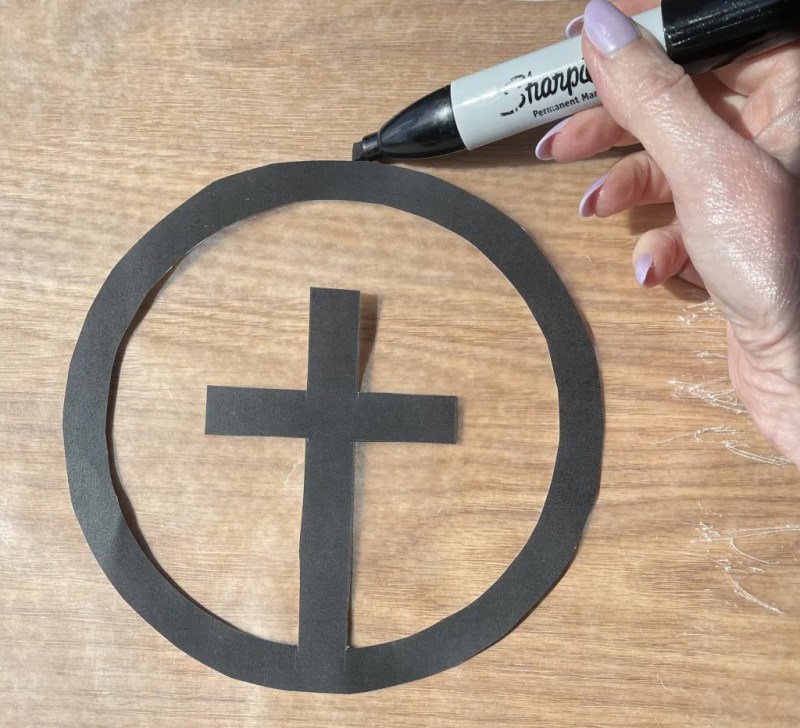
To create these meaningful Easter suncatchers, cut out a cross pattern inside a circle and then trace the outside of the circle on wax paper.
Give each student a paintbrush, a container of watered-down (diluted) glue, tissue paper squares in a variety of colors, and a wax paper circle.
Have each student use a paintbrush to brush watered-down glue onto the wax paper circle and then cover it with tissue paper squares.
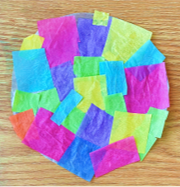
Once the glue dries, glue a cross pattern onto each wax paper circle.
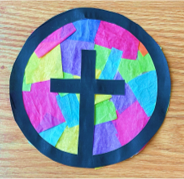
Hang them on a sunny window as a reminder of Christ’s sacrifice for us.
I hope these Christian Easter art projects have given you some fun ideas for teaching the Easter story through the beauty of crafts. If you would like to save planning time and have the printable patterns for each craft as well as more detailed step-by-step directions with photos, click here to download my Easter Crafts resource.
Pin it for later!
The post Christian Easter Crafts & Art Projects That Help Children Learn The Easter Story appeared first on Lessons for Little Ones by Tina O'Block.
